I felt bad when I saw the leftover bread on my counter. Those slices weren’t just old food—they were a chance to make something tasty.
That’s when I found out about homemade breadcrumbs. They’re amazing because they turn stale bread into something useful in the kitchen.
Making your own breadcrumbs is a smart idea—it cuts down on waste and makes meals better. You can use any kind of bread, like sourdough or whole wheat, to make crumbs that work in lots of dishes.
These crumbs are perfect for making crispy coatings or adding a crunchy topping to casseroles. With just a few simple steps, you can make breadcrumbs that taste way better than the ones you buy at the store.
Table of contents
Understanding the Basics of Homemade Bread and Crumbs
Making your bread crumbs is more than a kitchen task. It’s an art that turns leftover bread into a versatile ingredient. Unlike store-bought crumbs, making your own crumbs gives you unmatched flavor and control over texture.
Why Make Your Breadcrumbs
Those little things about homemade bread crumbs open up a world of cooking and possibilities. With the help of a food processor, you can custom-make your crumbs into any recipe. This process helps minimize waste and cut costs as well. Homemade breadcrumbs also offer a fresh, flavorful alternative to store-bought options, making them a versatile and economical choice for any kitchen.
- Control bread type and texture
- Adjust seasoning to your preference
- Use leftover bread effectively
- Save money compared to store-bought crumbs
Benefits of Homemade vs Store-Bought
Store-bought breadcrumbs often lack the fresh taste and customization of homemade ones. With homemade crumbs, you can choose from a variety of bread types, such as sourdough, white, or rye, each offering a unique flavor profile. This flexibility allows you to tailor the crumbs to your specific recipes, enhancing the overall taste and texture of your dishes.
Essential Equipment Needed
To make perfect homemade bread crumbs, you’ll need a few tools:
- Food processor for breadcrumb creation
- Baking sheet for toasting
- Airtight container for storage
- Optional seasonings like herbs or garlic powder
Pro tip: Store your seasoned bread crumbs in an airtight container at room temperature for up to 3 days. Then, move them to the freezer for longer freshness.
Selecting the Right Type of Bread for Breadcrumbs
Getting the right bread is the first step to creating tasty breadcrumbs. The type of bread you choose can significantly impact the flavor and texture of your crumbs. Each variety, whether it’s sourdough, whole wheat, or rye, brings something unique to your dish, allowing you to customize your crumbs to suit your culinary needs.
Here are some breads for crumbs:
- Sourdough: Provides a tangy, complex flavor profile
- White bread: Offers a neutral, versatile base
- Whole wheat: Delivers a nuttier, denser texture
- Rustic bread: Creates robust, hearty crumbs
- Gluten-free bread: Perfect for special dietary needs
Sandwich bread makes fine, even crumbs. Rustic breads give you chunkier, more textured crumbs. Low-carb bread is excellent for health-focused cooking.
Remember these tips when picking your bread:
- Use fresh or slightly stale bread
- Avoid sweet breads with high sugar content
- Remove tough crusts for smoother crumbs
- Consider the final dish’s flavor profile
Pro tip: Breads with seeds or nuts add extra crunch and flavor. Try different types to find your favorite!
Fresh vs. Stale Bread: What Works Best
Choosing between fresh and stale bread can make a big difference in your breadcrumbs. Not all bread is the same when it comes to creating perfect fragments.
First, pick the proper bread for your breadcrumbs. Fresh bread can work, but stale bread usually gives better results. Recipes often suggest using bread that’s a few days old. This bread absorbs moisture better and has a more consistent crumb.
Using Fresh Bread Effectively
Fresh bread needs some prep before becoming crumb. Here’s how to get started:
- Cut bread into half-inch cubes for even drying
- Spread bread pieces on cooling racks
- Use low-temperature oven settings (150°-200°F)
- Dry bread for 45-60 minutes until completely dry
Preparing Stale Bread
Stale bread, like artisan or homemade loaves, is best for fragments. White bread is typical, but wholemeal and sourdough can add unique flavors.
Optimal Drying Methods
There are many ways to dry bread at room temperature or with kitchen appliances:
- Oven method: Low heat for 45-60 minutes
- Air fryer: 300°F for 5-8 minutes
- Food dehydrator: Set to 150°F for one hour
- Natural air drying: Leave uncovered for several hours
Choose your method, but make sure the bread is dry before making fragments. Dry bread makes a crispy, lasting crumb that will improve your dishes.
Step-by-Step Process for Basic Breadcrumbs
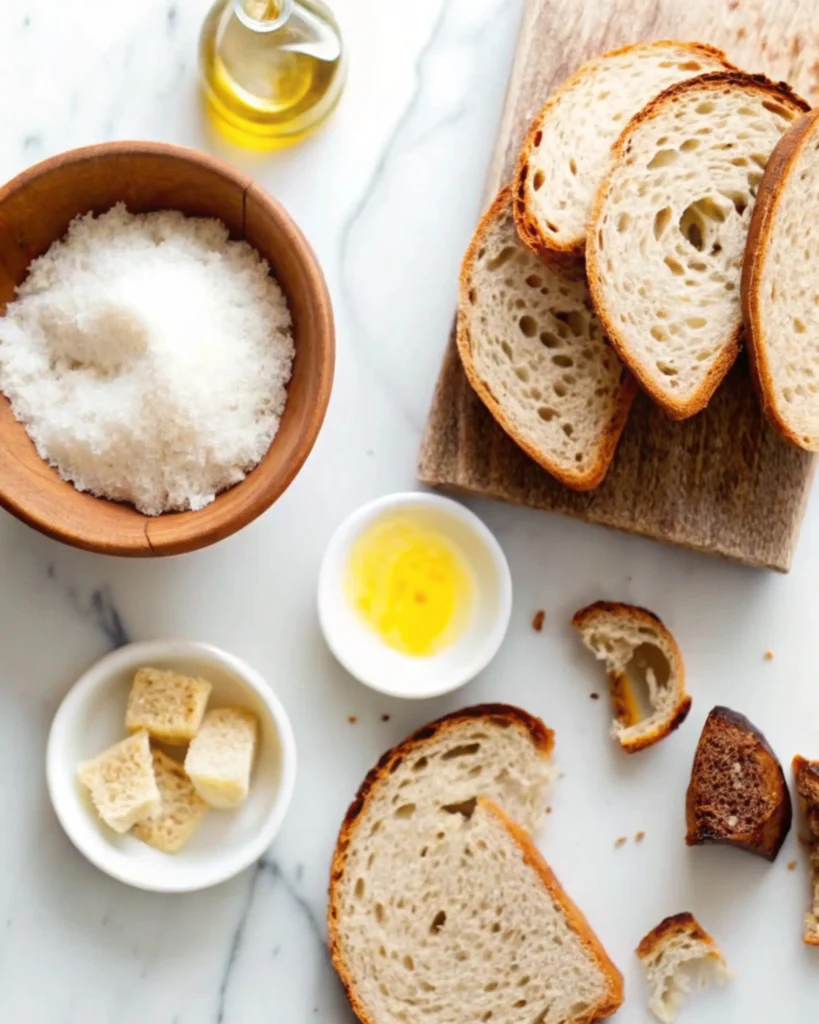
Making homemade breadcrumbs is easy. First, you need just a few tools and essential ingredients. This way, you can turn regular bread into tasty, versatile crumbs that improve your dishes. Additionally, by using stale or leftover bread, you not only reduce food waste but also create a kitchen staple that’s fresher and more flavorful than store-bought options.
First, pick the proper bread. White bread is best, but feel free to try others. Make sure the bread is dry so it processes well.
- Prepare the bread by cutting it into 1-inch cubes
- Use a food processor to pulse the bread into crumbs
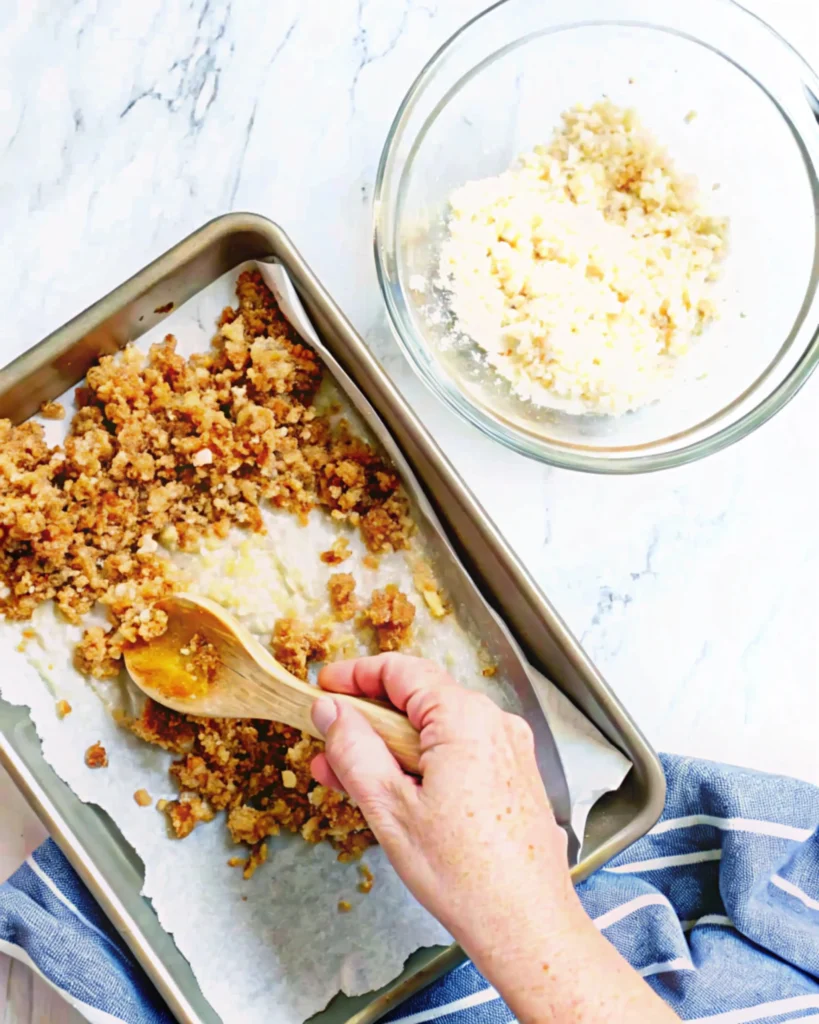
- Spread the crumbs on a baking sheet
- Drizzle with olive oil
- Sprinkle with salt for added flavor
Pulsing Techniques for Perfect Breadcrumbs
The pulsing technique is key when using your food processor. For coarse breadcrumbs, pulse for about 30 seconds. For finer crumbs, keep processing for up to 1 minute.
Heat your oven to 300°F (149°C). Spread the fragment on the baking sheet in a single layer. Bake for 10-15 minutes, stirring halfway. This ensures they dry evenly and turn light golden brown.
Once baked, let the crumbs cool. Store them in an airtight container in your pantry for up to two weeks, or freeze them for longer storage.
Creating Perfect Texture and Consistency
Making the perfect crumb is all about precision and controlling texture. Whether you want fine or coarse fragments, getting it right can make a big difference in your cooking.
Fine Breadcrumbs Technique
To make fine breadcrumbs, start by removing the bread crusts. This ensures a smooth texture. Then, use a food processor to pulse the bread in short bursts. The longer you pulse, the finer the breadcrumbs will be.
- Remove all crusts before processing
- Use the pulse function on your food processor
- Process until you achieve a fine, even texture
Coarse Breadcrumb Methods
For coarse breadcrumbs, you need to process the bread less. This way, you can keep the texture chunky and rustic. For example, a rolling pin is great for manually crushing the bread into larger pieces, giving you the perfect coarse consistency.
To achieve this, pulse the bread in shorter bursts if using a food processor. Alternatively, use a rolling pin for manual crushing, which allows you to control the size of the crumbs. Finally, leave some larger bread pieces intact to maintain that desirable coarse texture.
Achieving Uniform Size
It’s important to ensure your breadcrumbs are uniform in size for consistent results. After processing the bread, pulse it again in the food processor or crush it further in a plastic bag using a rolling pin. This step helps achieve evenly sized crumbs, which are ideal for coating, topping, or binding in your recipes.
- Cool breadcrumbs completely
- Pulse again for refined texture
- Use a rolling pin to break down larger pieces
- Sift to remove any oversized crumbs
Pro tip: Experiment with different bread types and processing techniques to find your perfect breadcrumb texture!
Food Processor Methods and Alternatives
Making homemade breadcrumbs is easy and doesn’t require fancy tools. While a food processor is the fastest and most efficient option, there are several other methods to create breadcrumbs using basic kitchen gadgets. For instance, the food processor is ideal for large, consistent batches, as it quickly chops bread into even pieces. Additionally, available in sizes ranging from 5-cup to 13-cup, it can handle various batch sizes to suit your needs.
Here are some alternative methods for making breadcrumbs:
- Food processor: Best for large, consistent batches.
- Blender: Ideal for smaller quantities.
- Immersion blender: Works well for soft bread pieces.
- Rolling pin with plastic bag: A perfect manual method for those without appliances.
If you prefer to make breadcrumbs by hand, follow these steps:
- Place bread in a sealed plastic bag.
- Crush the bread with a rolling pin.
- Shake the bag to ensure even crumbs.
Proper Baking Techniques for Crispy Results
You need to be precise to get crispy breadcrumbs. First, your oven temperature and baking time are key, as they help achieve that golden brown everyone loves. To start, spread the breadcrumbs in a single, even layer on a baking sheet. Next, set the oven temperature to 300°F (149°C) for optimal drying. Then, bake the breadcrumbs for 10-18 minutes, stirring them halfway through baking to ensure even browning. Finally, let them cool completely before storing or using them in your recipes.
Temperature Control Tips
Keeping your oven temperature steady is essential. At the same time, lower temperatures help prevent burning and let moisture evaporate slowly. For best results, use an oven thermometer to keep the temperature at 300°F.
Timing and Monitoring
Keep an eye on your breadcrumbs while they bake. You want them to be golden brown and dry. Different breads need different baking times. Stir them every 5-6 minutes to brown evenly.
Pro tip: Remove breadcrumbs when they’re dry and light golden brown. Let them cool completely before storing, as this keeps them crispy.
Adding Flavors and Seasonings
Add tasty flavors to your homemade breadcrumbs to make them special. In fact, seasoned breadcrumbs can make any dish stand out. The key is to pick herbs and spices that fit your cooking style and enhance the overall flavor of your recipes.
Here are some great options for adding flavor:
- Italian seasoning blend: Combines dried basil, oregano, and thyme for a classic taste.
- Garlic powder: Adds a strong, savory kick.
- Onion powder: Brings depth and complexity to the crumbs.
- Parmesan cheese: Offers a rich, tangy flavor that pairs well with many dishes.
- Fresh or dried herbs: Provide an intense aroma and elevate the overall taste.
For example, you can mix and match these ingredients to create a custom blend that suits your preferences. Additionally, experimenting with different combinations can lead to unique and delicious results.
The secret to great seasoned breadcrumbs is timing. Specifically, add your spices after baking when the breadcrumbs are still warm. This way, the flavors spread evenly, and the herbs don’t burn. For example, mix Mediterranean herbs like rosemary and marjoram for an authentic Italian flavor. Additionally, you can adjust the mix to suit your taste or the specific recipe you’re preparing.
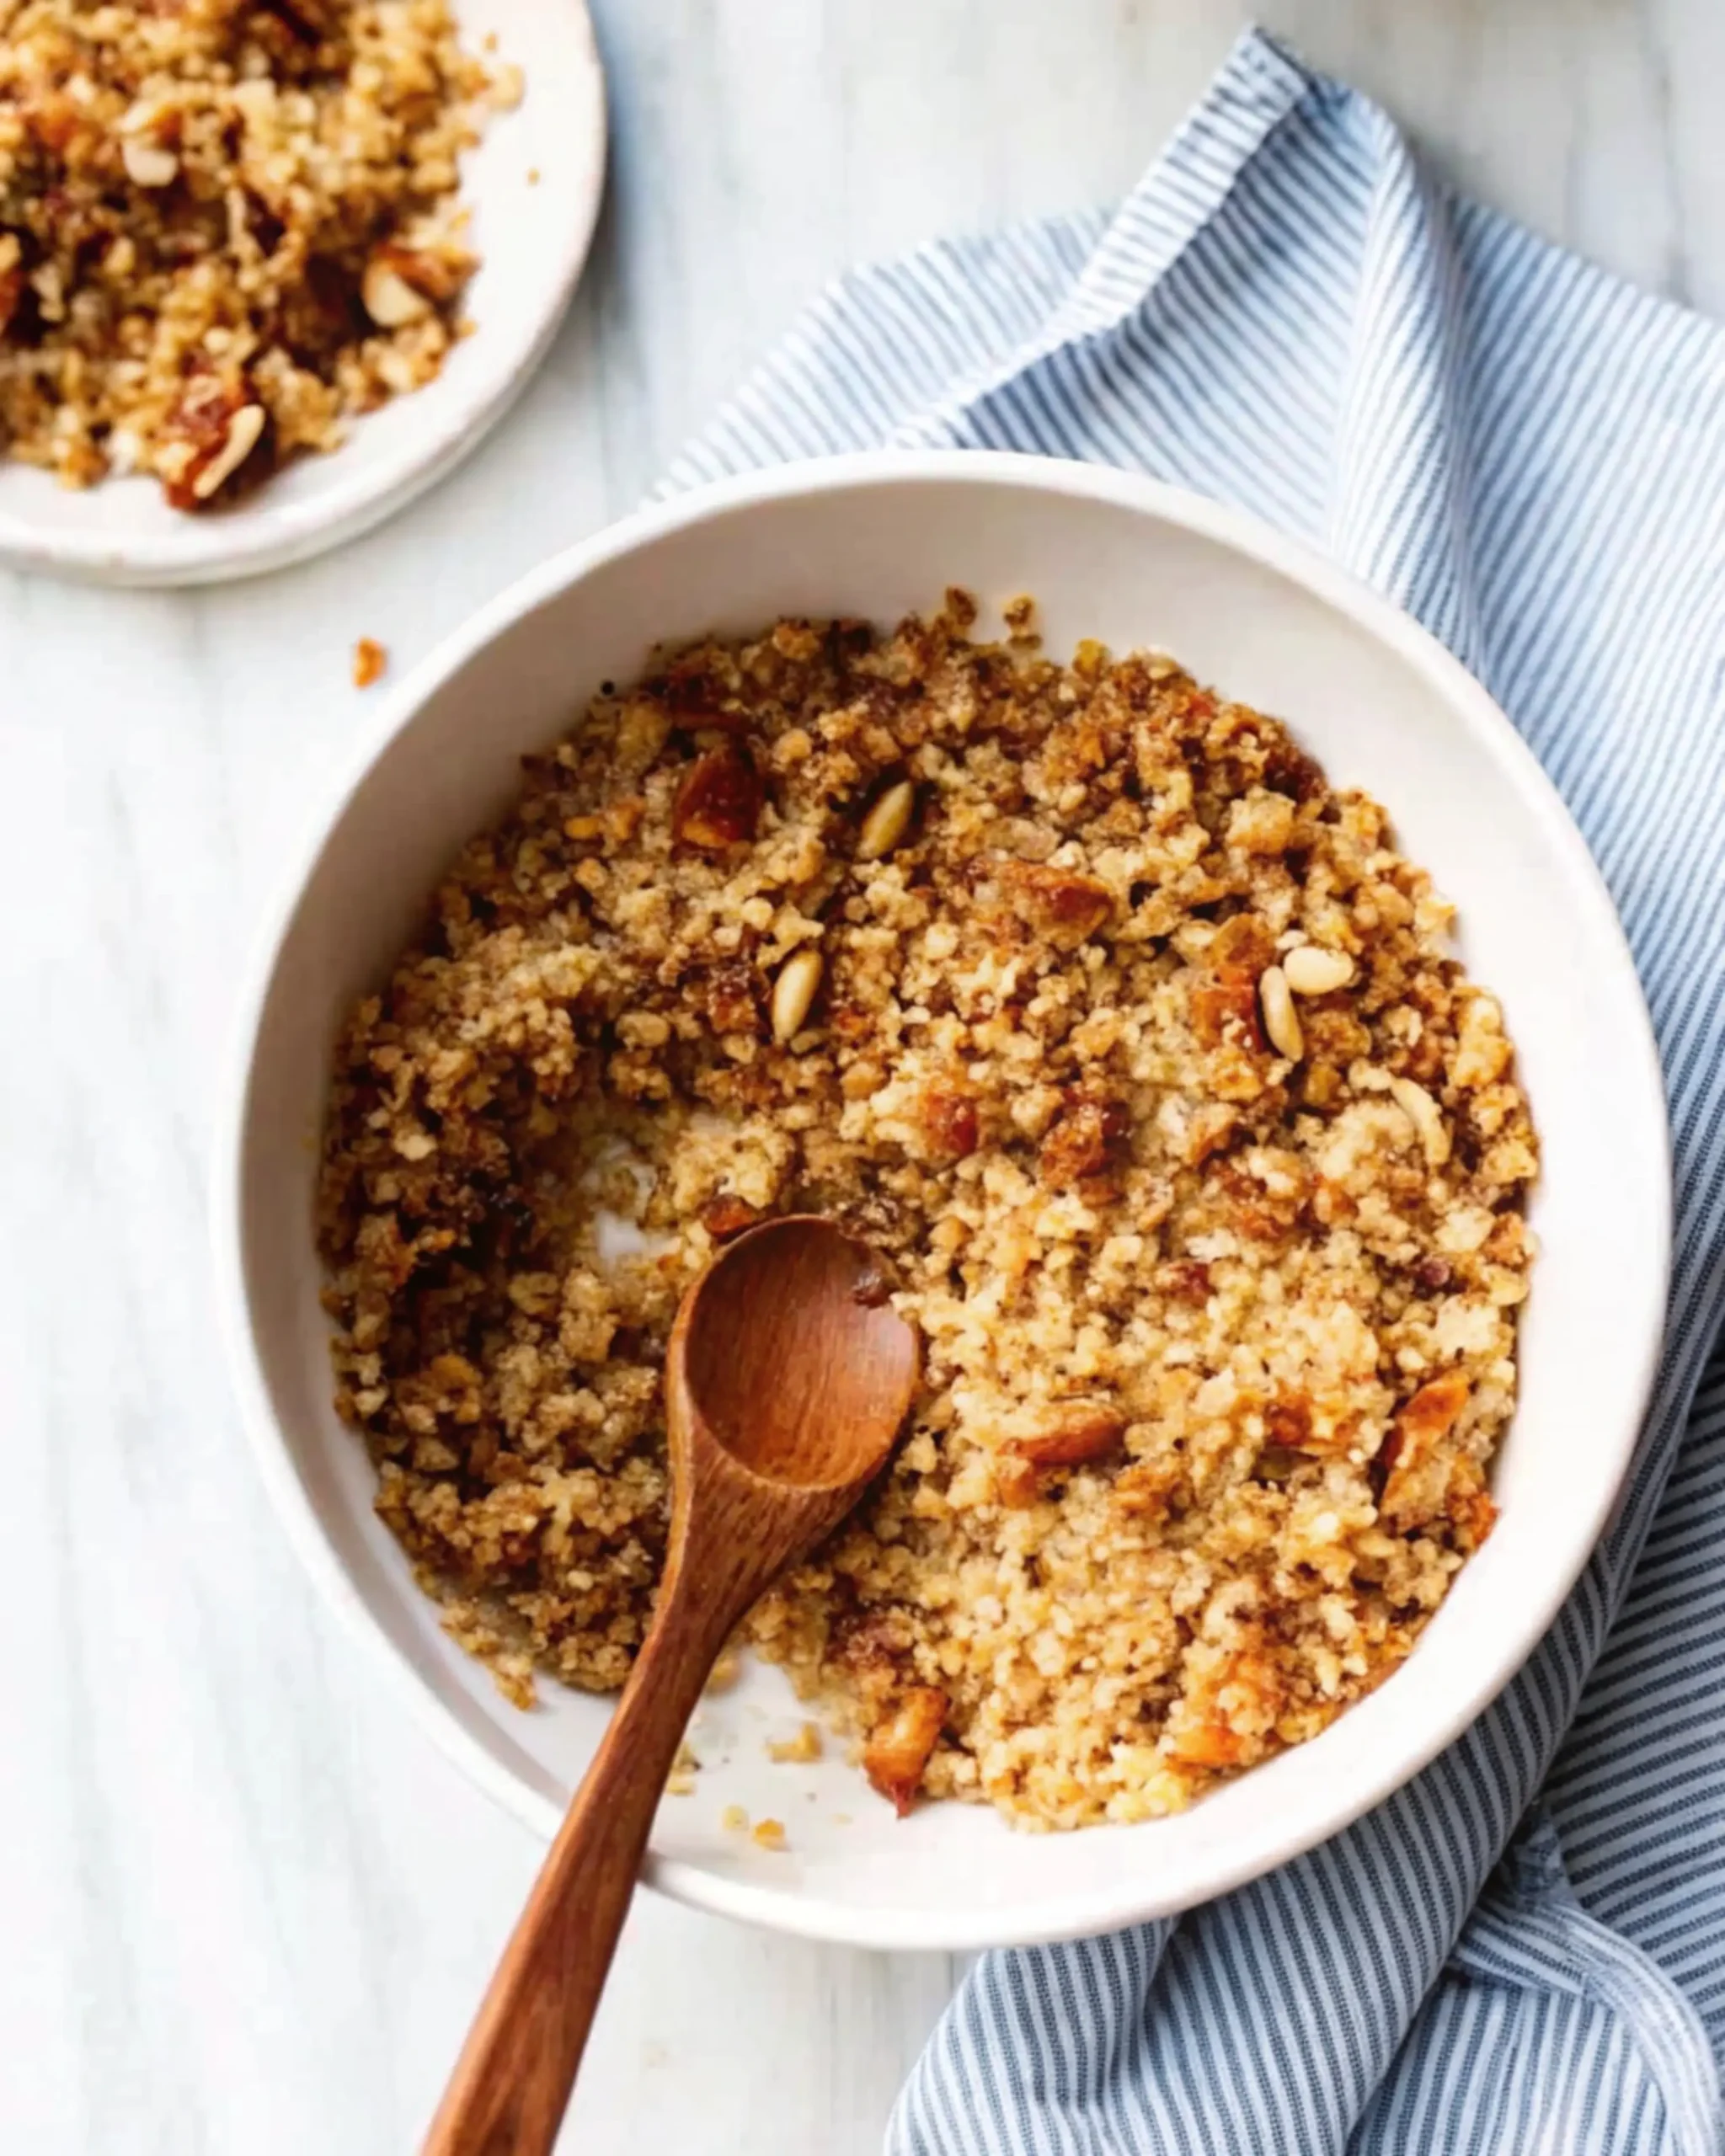
Pro tip: For an extra twist, try adding chopped nuts, seeds, or crispy bacon bits to your breadcrumbs. Not only do they add interesting texture, but they also enhance the overall taste.
Italian-Style Seasoned Breadcrumbs Recipe
Making your own Italian breadcrumbs at home is simple and requires just a few ingredients to transform plain breadcrumbs into a flavorful coating. The key lies in selecting the right herbs and spices to create that authentic Italian taste.
Your homemade Italian breadcrumbs will elevate your dishes, giving them a restaurant-quality flavor. Start with high-quality breadcrumbs—either made from scratch or store-bought—and enhance them with a blend of Italian herbs and seasonings for a delicious, versatile addition to your recipes.
Classic Italian Herbs Blend
The best Italian breadcrumbs mix a few essential ingredients:
- Dried Italian seasoning for authentic flavor
- Kosher salt to enhance taste
- Garlic powder for depth
- Onion powder for complexity
Spice Measurements and Ratios
Here’s what you need for a batch of Italian breadcrumbs:
- 1 cup plain breadcrumbs
- 1/2 teaspoon kosher salt
- 1/8 teaspoon garlic powder
- 1/2 teaspoon onion powder
- 1/2 teaspoon dried Italian seasoning
Pro tip: You can change the amounts to taste. For a unique flavor, add basil, oregano, rosemary, and thyme. Homemade Italian breadcrumbs are very versatile!
Keep your seasoned breadcrumbs in an airtight container. They’ll last up to two weeks in the fridge or three months in the freezer. This way, you’ll always have a tasty coating for your recipes.
Troubleshooting Common Issues
Making perfect breadcrumbs can be tricky. Knowing common pitfalls helps you get crispy, flavorful results every time. Soggy breadcrumbs are a common problem, but you can avoid them with the right techniques.
Let’s look at the most common challenges:
- Soggy Breadcrumbs: Make sure bread is dehydrated before processing. Use a low-temperature oven to remove excess moisture.
- Uneven Browning: Spread the crumbs in a single, thin layer on a baking sheet. Stir occasionally during baking to achieve an even color and crispness.
- Over-Seasoning: Add seasonings gradually and taste-test as you go. Start with small amounts of herbs and spices, then adjust to your taste.
Storage problems can quickly ruin your homemade breadcrumbs. To keep them fresh:
- Store in an airtight container
- Keep in a cool, dry place
- If breadcrumbs become stale, re-crisp them in a 300°F oven for 5-10 minutes
Professional bakers like Luis Troyano advise watching out for moisture and seasoning. By following these tips, you’ll make crispy, flavorful breadcrumbs that are perfect for many dishes.
FAQ
What types of bread can I use to make breadcrumbs?
You can use almost any bread for breadcrumbs, including sourdough, gluten-free, and whole wheat. White, whole grain, French, and even hamburger buns work, too. Sandwich bread makes fine crumbs, while rustic breads create denser crumbs.
Is fresh or stale bread better for making breadcrumbs?
Stale bread is best for breadcrumbs because it’s drier. If you use fresh bread, dry it out first. You can leave it uncovered for hours or toast it at 300ºF for a few minutes.
Do I need a food processor to make breadcrumbs?
You don’t need a food processor. You can use a blender, immersion blender, or even a rolling pin with a plastic bag. Just crush the bread into small pieces or pulse in your chosen appliance.
How long can I store homemade breadcrumbs?
Homemade breadcrumbs can be kept in an airtight container at room temperature for up to 1 month. For more extended storage, they can be frozen for 3-4 months. To stay fresh, they should always be kept away from the air.
Can I add seasonings to my breadcrumbs?
Yes, you can! Add garlic powder, onion powder, dried herbs, and spices to your breadcrumbs. Mix in dried basil, oregano, rosemary, thyme, and marjoram for Italian style. Add seasonings while the breadcrumbs are warm for better flavor.
What are some ways to use homemade breadcrumbs?
Homemade breadcrumbs are very versatile. They can be used as a coating for chicken, fish, or vegetables, as crispy toppings on casseroles and pasta dishes, as meatballs or meatloaf, or as sprinkles on salads and soups.
How can I prevent my breadcrumbs from becoming soggy?
To avoid sogginess, make sure the bread is dry before processing. Spread the crumbs on a baking sheet and bake at 300ºF for 10-18 minutes. Stir halfway through to brown evenly. They should be golden brown and dry to the touch.
Is making breadcrumbs a good way to reduce food waste?
Yes, making breadcrumbs is a great way to reduce waste. Use stale bread, leftover crusts, or bread ends. Freezing unused bread for future use helps save money and reduces waste.
Conclusion
Making homemade breadcrumbs is more than a kitchen trick. In fact, it’s a versatile ingredient that changes how you cook. With your DIY kitchen skills, you can make simple dishes better by using custom crumbs tailored to your taste.
Moreover, making breadcrumbs is a cooking staple that helps reduce waste. For instance, stale bread, which might otherwise be thrown away, gets a new life as a flavorful kitchen essential. Additionally, you can play with different types of bread and seasonings to create unique breadcrumb mixes that suit your recipes.
But wait—the charm of homemade breadcrumbs lies in their simplicity and versatility. For example, they’re great for coating chicken, topping casseroles, or even sprinkling over salads for an extra crunch. Once you make your first attempt, you’ll quickly master the process and turn it into cooking magic.
Of course, getting good at making breadcrumbs takes practice. Each batch you make not only improves your skills but also makes you a more confident home cook. So, enjoy the journey, and let your cooking creativity flourish!







2 thoughts on “How to Make Bread Crumbs: A Simple Guide to Perfect Breadcrumbs”
Comments are closed.